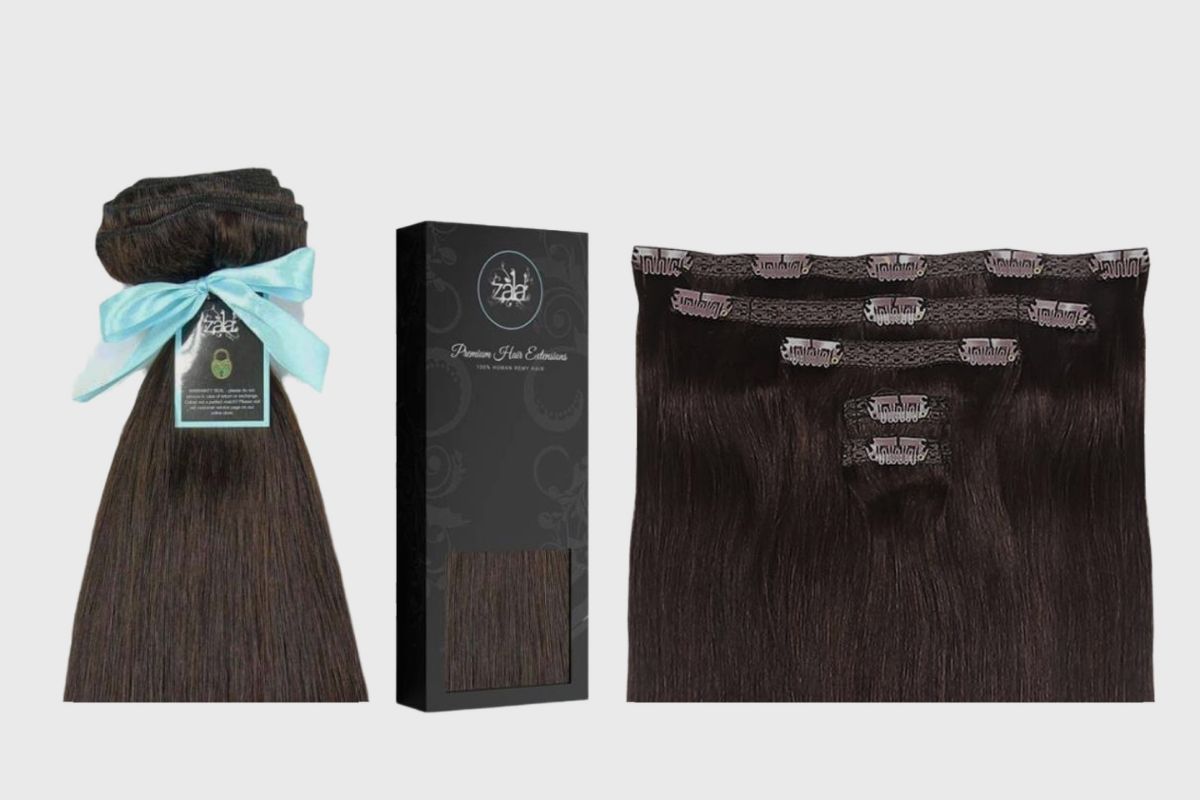
Clip-in hair extensions are a great temporary solution for instantly adding volume and length to your hair. The Zala clip-in hair extensions brand offers a unique type of hair extension that comes in two options – human Remy hair and Vegan Keratin.
This combination makes their products stand out from other extension brands available in the market.
Crafted from the finest quality soft and silky hair, Remy’s hair guarantees both safety and versatility in curling, straightening, and even colouring. The Vegan Keratin, on the other hand, is made with high-quality keratin-rich fibre, which looks similar to human hair and offers exceptional durability. It can withstand styling heat of up to 140 °C / 284 °F but can not be toned or dyed.
Zala clip-in hair extensions come in lengths from 12 to 30 inches, and you can choose from lace back or seamless design and triple or quad-weft thickness for extra volume. And the best part? If you’re a newbie to the clip-in world, then this is a perfect choice, as they are quick and easy to install by yourself.
Other Brands:

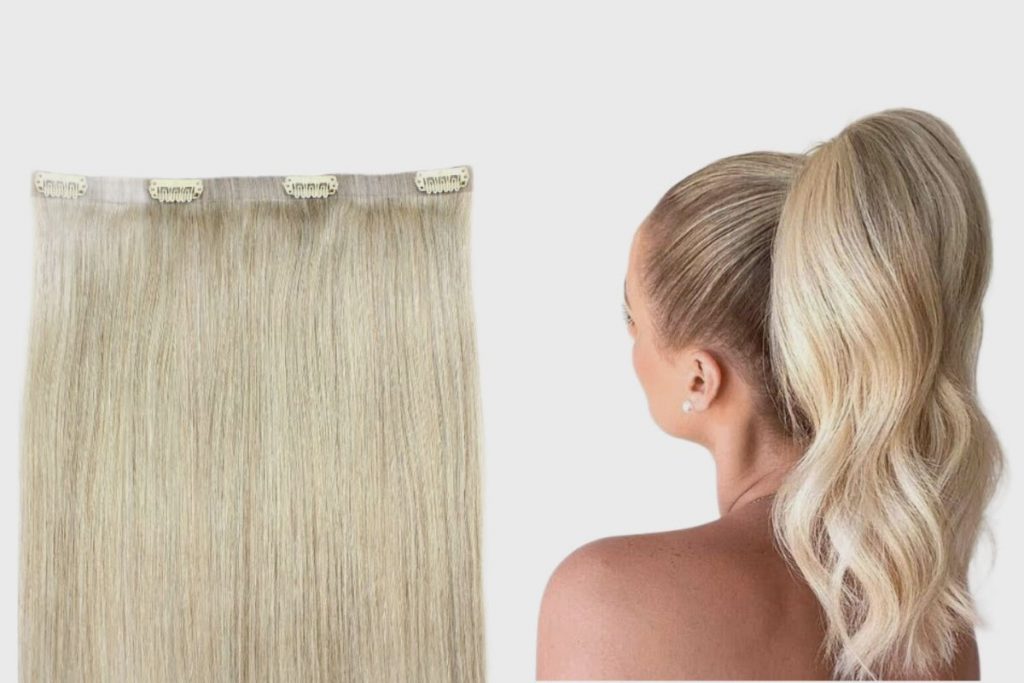
Double Weft 100% Remy Human Hair Clip in Extensions Full Head 8 PCS Highlights - 14" inch 120g #12/613 Golden Brown/Bleach Blonde - Thick Straight Natural
Related Posts to read:
Steps to apply the Zala clip-in hair extensions
Applying your Zala clip-in hair extensions is a quick and straightforward process that can be completed in just a matter of minutes.
To attach your Zala clip-in hair extensions, take the following steps:
1. Prepare your hair:
Start by using a blow dryer to dry your hair to increase volume. Then, use a brush to brush through your natural hair to ensure that it is tangle-free.
2. Section your hair:
Start by sectioning your hair at the lowest point behind your ears using the pointed end of a rat-tail comb. Then, create parts where you want to section your hair with the comb and clip up your hair to keep the rest of the hair out of your way.
3. Attach your first piece:
Fix in your first piece by snapping the clips open, fix it to your hair and snap the clip shut so it grips your hair firmly. When fixing in the clips, start by fixing them in the middle clip before you work your way to the side clips.
4. Attach the remaining pieces:
About an inch from the previously attached piece, section your hair, and fix in the remaining pieces by repeating the above process.
Fix in the widest wefts of your extension pack to the centre of your head, while the smaller wefts should be used for the sides and top sections of your head.
5. Blend with your hair:
To achieve a seamless blend with your natural hair, gently brush through it after attaching all the pieces of your Zala clip-in extensions. By so doing, all your pieces are properly hidden.
6. Style as desired:
Now, you can curl or straighten your hair to achieve your desired look. Ensure that you use your styling tools in low to medium settings to prevent excessive exposure to heat.
It is also recommended that you use a heat-protectant spray before you straighten or curl.
7. Tape and Layer:
If you want a more tapered and layered look, you can trim and layer your Zala clip-in hair extensions.
To prevent damage to your natural hair, ensure that each piece is not attached too close to the hairline. Also, if you want a more layered effect, apply the 2 and 1 clip pieces at a slight angle to create a shape around the face.
With these steps guiding you, there will be no issues applying your Zala clip-in extensions. But just in case you encounter any, don’t stress; you can keep removing and fixing back in till you achieve your desired result.
Conclusion
In conclusion, Zala clip-in hair extensions are an excellent temporary solution for adding instant volume and length to your hair. Crafted with premium-quality hair, it is a great choice for achieving a seamless blend with your natural hair.
By following the simple steps outlined above, you can easily apply these extensions and switch up your look.
Image Gallery – How To Apply Zala Clip-In Hair Extensions?

Related Posts to Read:
- How To Apply Bellami Clip-In Hair Extensions?
- How To Air-Dry Clip-In Hair Extensions?
- How To Clean Clip-In Hair Extensions
- How Many Clip-In Extensions Are Needed For A Full Head?
- How To Properly Install Clip-In Hair Extensions
- How To Untangle Clip-In Hair Extensions
- What Are The Thickest Clip-In Hair Extensions?
- Why Do Clip-In Hair Extensions Get Tangled?
- How Long Can You Wear Clip-In Hair Extensions?
- Types of Hair Extensions
- What is Hair Extension?
- Do Clip-in Hair Extensions Fall Out Easily?
References:
- About Hair Extension (Link).