Clip-in hair extensions offer a quick and easy way to boost your hair’s volume and length without a professional’s help. They’re convenient, come in various styles and shades, and can be attached without glue or sewing. But, for a natural look and comfort, knowing the proper installation techniques is vital.
Incorrect attachment can damage your natural hair. So, in this blog post, I’ll be guiding you on how to properly install clip-in hair extensions in 7 simple steps.
Related Posts to read:

Steps to properly install clip-in hair extensions
Clip-in extensions come in different numbers of pieces with varying weft lengths. Some of the common pieces are 5, 6, 7, 8, and 9 pieces. You can choose the number of pieces depending on your hair type, hair texture, and desired look.
The steps to be taken to properly install clip-in hair extensions are completely easy and stress-free. In fact, you don’t have to visit a salon to have them installed. With just a hairbrush, rat-tail comb, a couple of hair clips, hairspray, extension pieces and a mirror, achieving a perfect installation of your clip-ins is as quick and easy as a couple of minutes!
To have your clip-in hair extensions installed correctly, take the following steps:
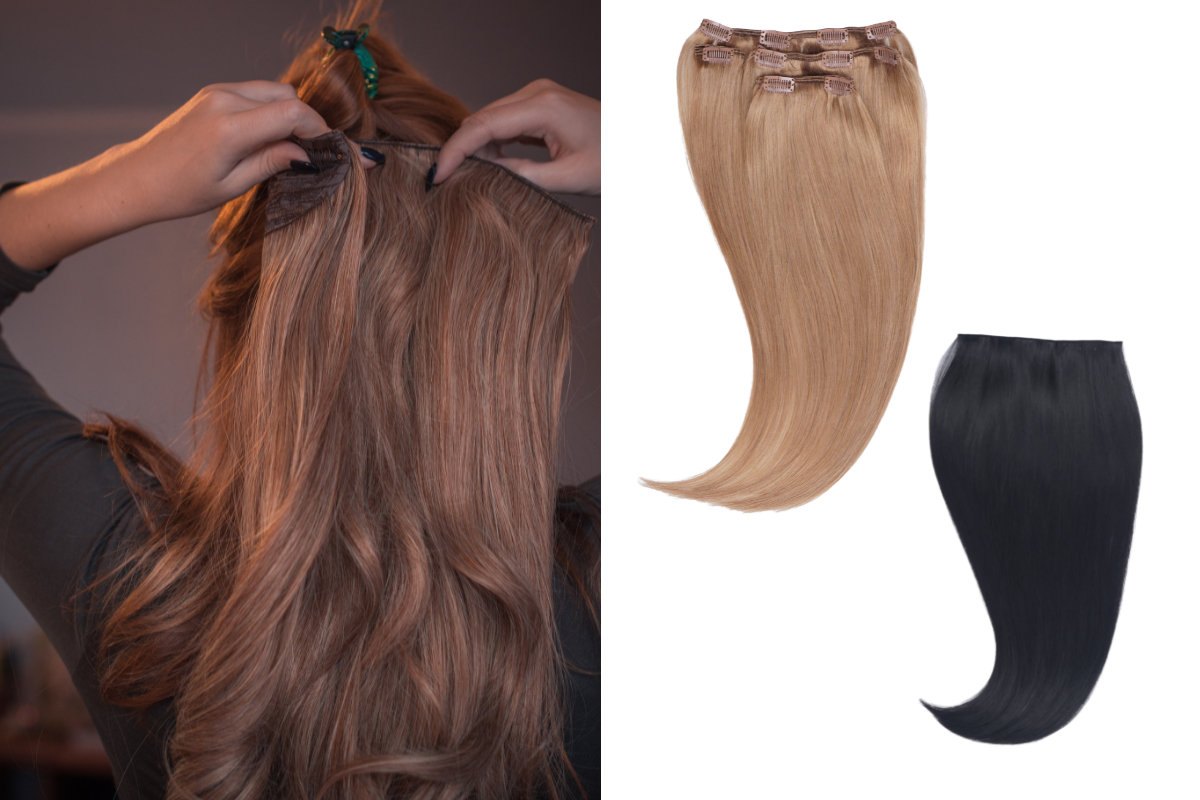
1. Lay out all the pieces of your extension set:
All pieces of clip-in hair extensions come in wefts of varying lengths. So, you must separate the pieces of clip-ins in your extension set. This is an important first step because it allows you to easily identify each piece of your clip-in hair extensions. By laying them out, you can organize them according to their lengths, which will make the installation process faster.
2. Prepare your natural hair:
Here, all you have to do is brush through your natural hair thoroughly to make sure it is completely free of tangles.
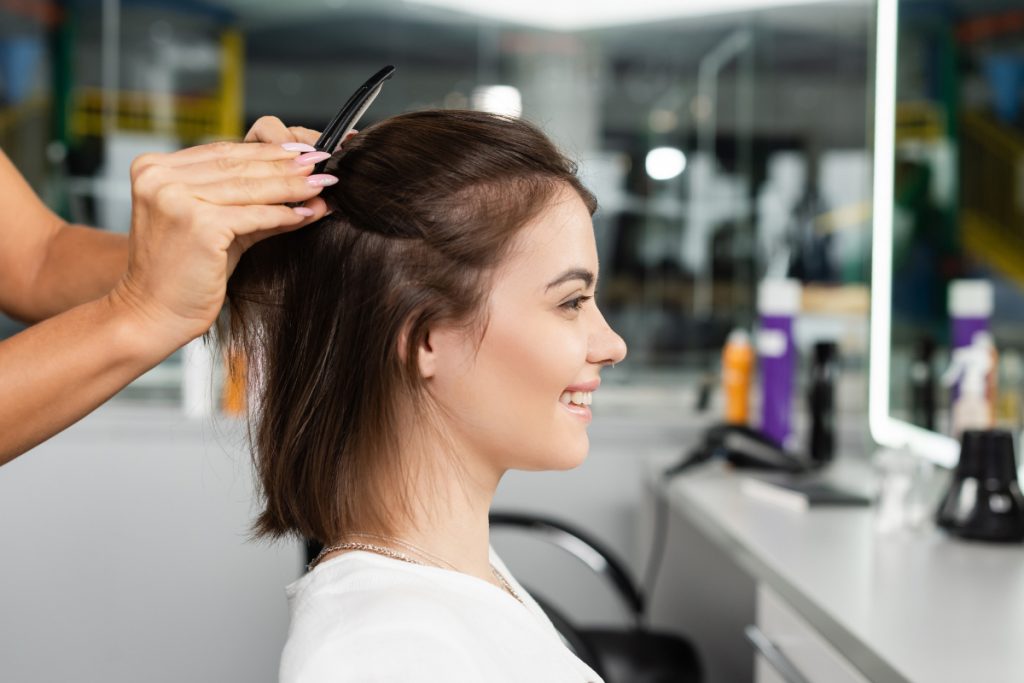
3. Section your hair:
With the back end of a rat-tail comb, section your hair in a straight line from the centre of the ear to the middle of the cranium. Then, use your clips to separate the rest of your hair out of the way.
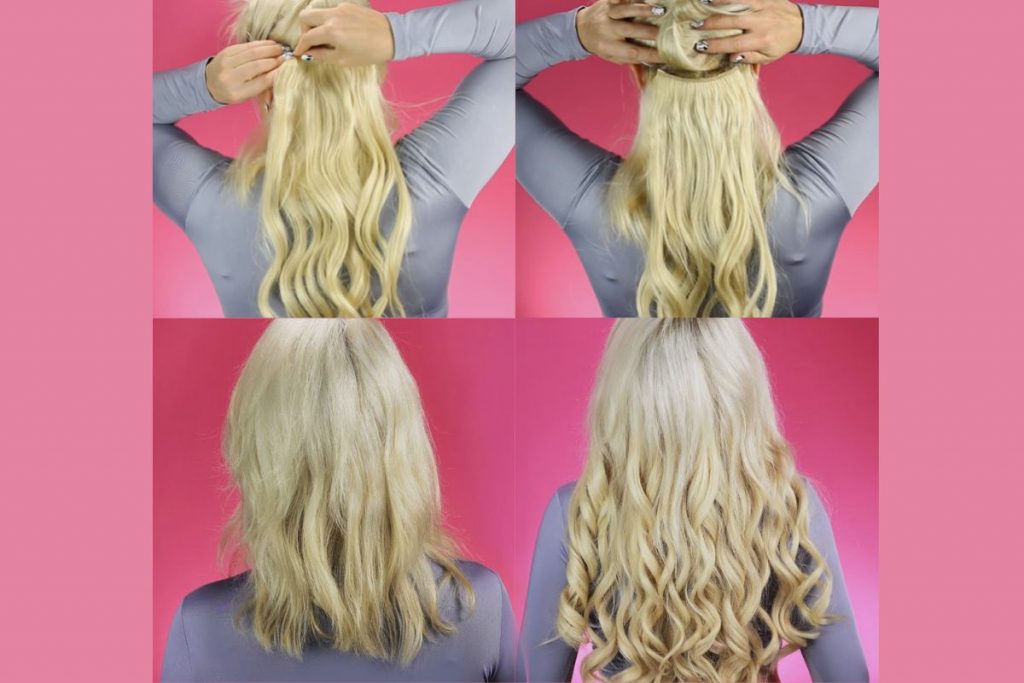
4. Secure your wefts:
This ultimately depends on the amount of clip-in pieces you want to use. But you can start with a mid-sized weft, simply snap it open, fix it into your hair and snap clip shut. Always start by snapping in the middle clips first before working your way to the side clips. Also, ensure that the clips are securely attached to your natural hair to guarantee a firm grip. But you also have to be careful to make sure it’s not too tight to prevent damage to your natural hair.
5. Continue with the remaining wefts:
Repeat the same process with the remaining wefts by measuring them about an inch above the previous weft, making sure they fit your head, and clipping them in.
Note that the widest weft of your extension pieces should be attached to the centre of your head, while the smaller wefts should be used for the sides and top sections of your head.
6. Blend with your natural hair:
Once all the wefts are securely in place, let your hair down and blend the wefts with your natural hair. To give a seamless blend, use a hairbrush to make sure all the wefts are hidden properly.
7. Style as desired:
Now that you have a seamless blend with your natural hair, you can style as you like, using heat styling tools if you wish to curl or straighten.
If your clip-ins are not installed correctly after following these steps, you can remove them and try again as many times as you need to achieve the look you want.
Conclusion
In conclusion, knowing how to properly install clip-in hair extensions is essential for a seamless blend with your natural hair. As a temporary solution, you can clip and unclip as many times as possible to achieve your desired look. With proper installation, you can enjoy the versatility and convenience of clip-in hair extensions while preventing damage to your natural hair.
Image Gallery – How To Properly Install Clip-In Hair Extensions


Related Posts to Read:
- How To Untangle Clip-In Hair Extensions
- What Are The Thickest Clip-In Hair Extensions?
- Why Do Clip-In Hair Extensions Get Tangled?
- How Long Can You Wear Clip-In Hair Extensions?
- Types of Hair Extensions
- What is Hair Extension?
- Do Clip-in Hair Extensions Fall Out Easily?
References:
- About Hair Extension (Link).